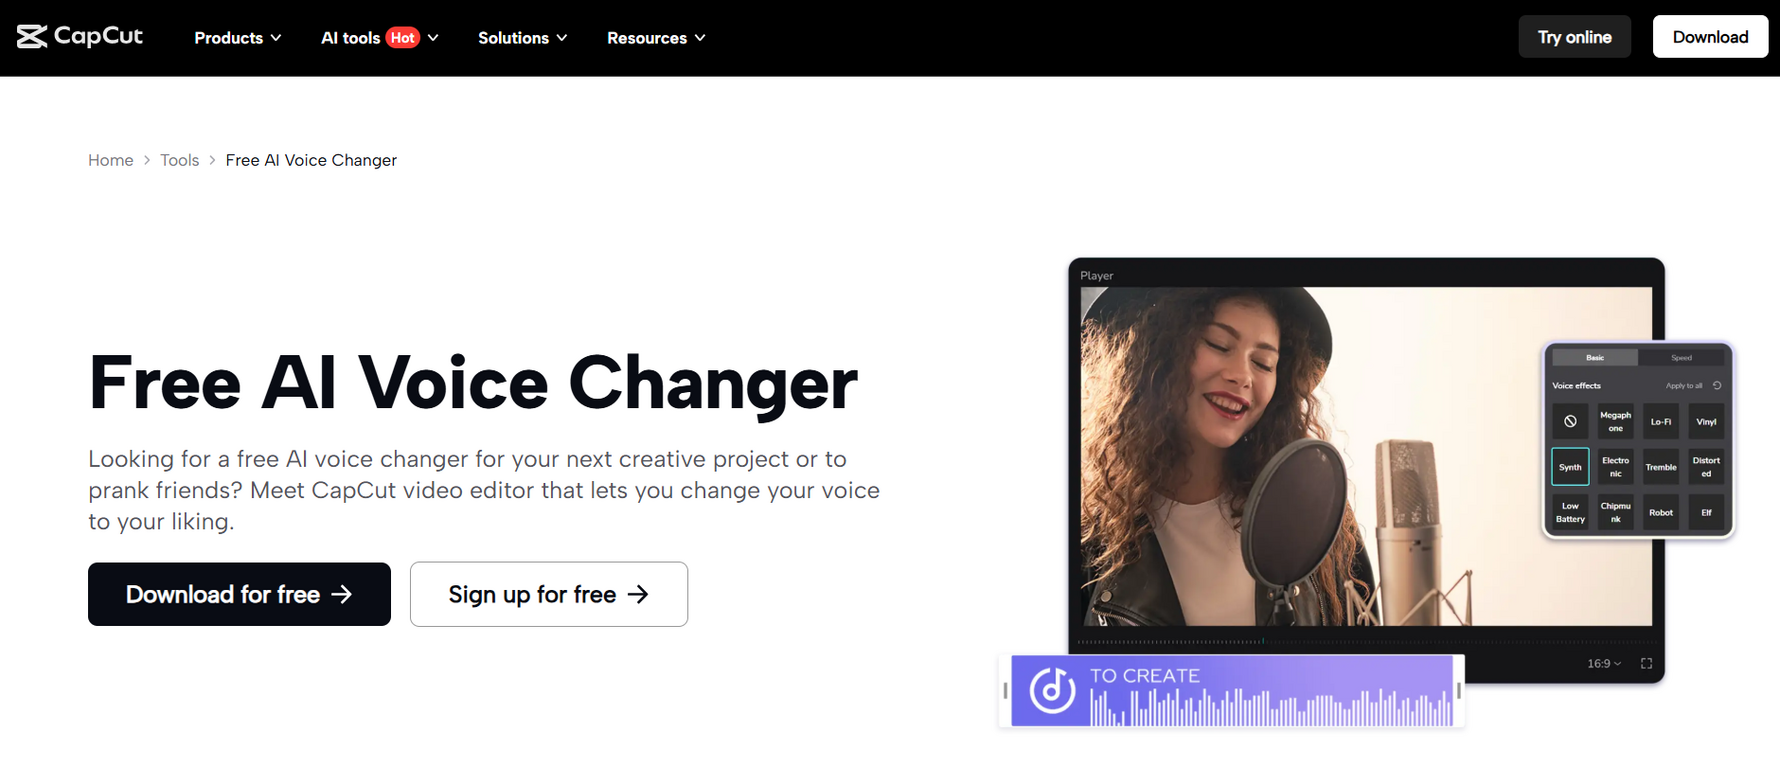
Editing is about more than just visuals: sound also makes a hugely important impact on how the person watching your video feels about it. There are times when you would want your narration to be deep, funny, robotic, or even entirely different. That’s where a voice changer comes in. Luckily, CapCut Desktop makes changing your voice easy with just a few clicks.
Don't know how to alter your voice with CapCut Desktop? Let this detailed tutorial reveal the secrets, and you can achieve it in a few clicks.
• You can record voice or import the voice directly into your timeline.
• Add voice effects professionally or with fun immediately
• Regulate the volume, timing, and pitch to have more control.
• The adjusted audio exactly matched your video.
This integrates visuals and audio, thus making it a one-stop platform- therefore avoiding the wastage of time switching between different programs.
Privacy - In the contemporary online world, identity is paramount when it comes to protecting your online identity. Voice effects can help you sound like someone you are not when posting online. Whether you are a gamer, a storyteller, or you want to remain anonymous, beautifying your voice can be the ultimate solution to maintaining the integrity of your personal identity and guaranteeing that your material continues to be compelling.
Entertainment - People enjoy being entertained, and it is just one way to keep them attracted to the voice effects. Consider reading a video with a chipmunk voice or an automated tone to fit a sci-fi theme. These cute details not only come off as funny but also result in your videos being more shareable with an increased likelihood of them being noticed on platforms such as TikTok, YouTube, or Instagram.
Professionalism - At times, your raw voice recording might not sound that professional. Pitch and clarity corrections made using CapCut will smooth your narration and make it sound more professional. As an example, decreasing pitch will add weight, whereas bringing out clarity will make tutorials or educational videos easier to follow for audiences. These minor details make a difference in the overall production value
Easy to use - As opposed to other video editors, where you would be required to download external plug-ins, CapCut has built-in voice change features in the desktop version. This prevents you from the inconvenience of opening and utilizing several programs and provides a swifter editing process. All processes are integrated in CapCut, so once you have recorded your content, you can immediately add effects, preview the result, and edit it anytime.


Don't know how to alter your voice with CapCut Desktop? Let this detailed tutorial reveal the secrets, and you can achieve it in a few clicks.
Why Use CapCut for Voice Editing?
Through advanced features, CapCut is more than a tool to cut clips; it is a full-function video editing software to make advanced tasks easy to do for everyone. It is also one of its outstanding features that it enables the editing and manipulation of audio without involving third-party applications. What you can do with CapCut Desktop is the following:• You can record voice or import the voice directly into your timeline.
• Add voice effects professionally or with fun immediately
• Regulate the volume, timing, and pitch to have more control.
• The adjusted audio exactly matched your video.
This integrates visuals and audio, thus making it a one-stop platform- therefore avoiding the wastage of time switching between different programs.
Benefits of Using CapCut’s Voice Effects
Privacy - In the contemporary online world, identity is paramount when it comes to protecting your online identity. Voice effects can help you sound like someone you are not when posting online. Whether you are a gamer, a storyteller, or you want to remain anonymous, beautifying your voice can be the ultimate solution to maintaining the integrity of your personal identity and guaranteeing that your material continues to be compelling.
Entertainment - People enjoy being entertained, and it is just one way to keep them attracted to the voice effects. Consider reading a video with a chipmunk voice or an automated tone to fit a sci-fi theme. These cute details not only come off as funny but also result in your videos being more shareable with an increased likelihood of them being noticed on platforms such as TikTok, YouTube, or Instagram.
Professionalism - At times, your raw voice recording might not sound that professional. Pitch and clarity corrections made using CapCut will smooth your narration and make it sound more professional. As an example, decreasing pitch will add weight, whereas bringing out clarity will make tutorials or educational videos easier to follow for audiences. These minor details make a difference in the overall production value
Easy to use - As opposed to other video editors, where you would be required to download external plug-ins, CapCut has built-in voice change features in the desktop version. This prevents you from the inconvenience of opening and utilizing several programs and provides a swifter editing process. All processes are integrated in CapCut, so once you have recorded your content, you can immediately add effects, preview the result, and edit it anytime.
Step-by-Step: How to Change Your Voice in CapCut Desktop
These are five easy and correct procedures for altering your voice with CapCut Desktop.Step 1: Launch CapCut Desktop and Start a New Project
Launch the lite version of CapCut Desktop. On the home screen, select the option of “New Project” option. Select the desired video to edit, then click on Open. Your video window will appear in the timeline, and you can use it to edit it.Step 2: Add or Record Your Voice Audio
Audio recorded on the video will be automatically on the audio track. To insert one of your own, click the top menu (audio) button and select voiceover. A small window named recording will be displayed--press the red button labeled record and record your voice. When complete, they will be put in the timeline as audio files.Step 3: Apply a Voice Effect
Select an audio clip in the pitch editor: Click your audio clip in the timeline. Next, click on the top toolbar and choose “Audio”, then use the voice changer. You will notice you have choices like High, Low, Robot, and Echo. To preview an effect, click on it; to save it in your audio clip, click on “Apply”.


Step 4: Adjust and Fine-Tune the Voice
Once you have applied a voice effect, you can alter how it plays. Right-click on the clip of the audio and click on “Edit audio”. Here, you drag sliders to control the volume, pace, or pitch. If the modified voice is too excessive, you can lessen its volume. Play the video to see how the voice effect joins the images and background music.Step 5: Export Your Final Video
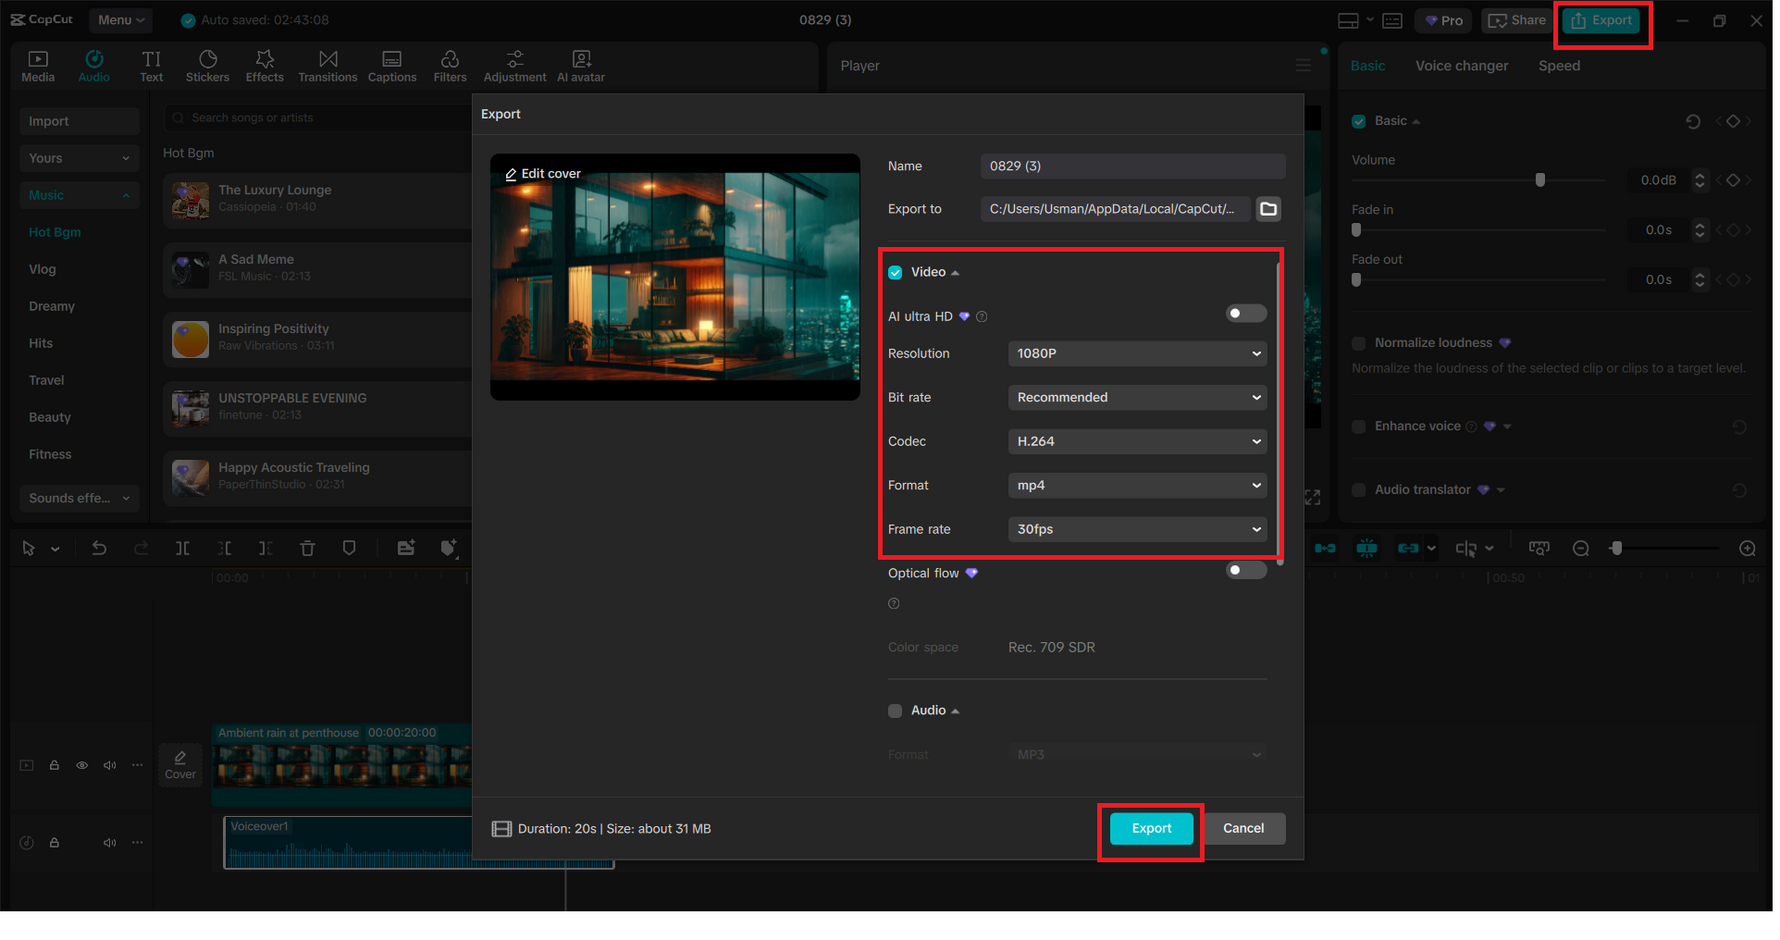
When your modified voice is synchronized with the video, you can click the button labeled Export at the top right of the screen. Select your file name, resolution, and format (i.e., MP4, 1080p, 30fps). After this, simply click “Export” once again, and your video, with the new voice effect, will have been saved to your PC.
CapCut has simplified the task of working with audio to an analog of editing video; you do not need special knowledge to have professional results. With the given possibility to make your voice sound deeper, funnier, or simply more unique, you have a lot of freedom in your kind of voice.
Layering the voice editing of CapCut with beautiful visuals or using online photo editors to create thumbnails will help you create truly compelling videos.
A Quick Note on Using an Online Photo Editor
Although CapCut allows us to create videos and edit the audio in no time, sometimes we need to have professional-looking thumbnails, channel logos, or intro graphics. This is when an online photo editor tool can be considered handy. You can create thumbnails or banners and export them to use in CapCut as overlay, intro, or outro elements. These tools, combined, make your content look professional.Final Thoughts
Voice-changing CapCut Desktop is fast and enjoyable. In five simple steps: create a new project, record or import your audio, apply one of 10 voice effects, finesse it to taste, then export your sound fabulous!CapCut has simplified the task of working with audio to an analog of editing video; you do not need special knowledge to have professional results. With the given possibility to make your voice sound deeper, funnier, or simply more unique, you have a lot of freedom in your kind of voice.
Layering the voice editing of CapCut with beautiful visuals or using online photo editors to create thumbnails will help you create truly compelling videos.